
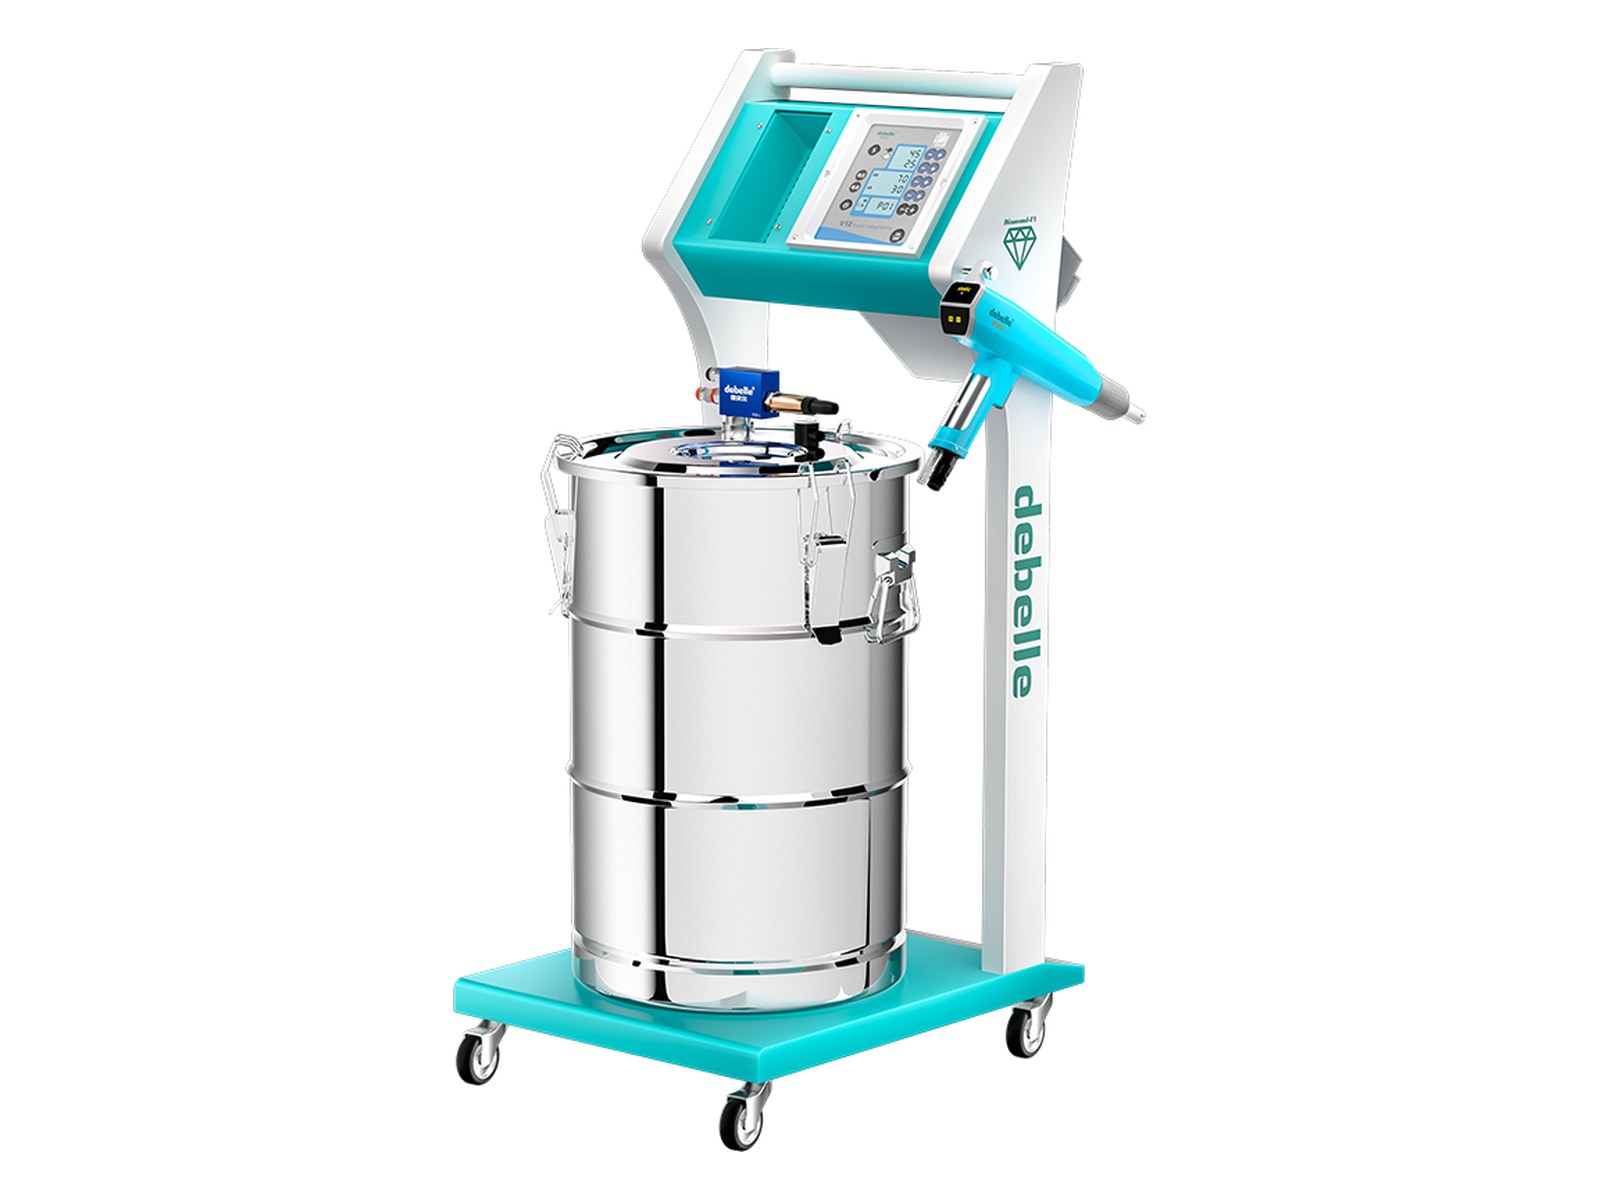
V12 Manual Electrostatic Powder Coating Gun
The all-round CNC machine, all in one step: 0-100kV with LCD display, 20 main programs + over 500 sub-programs storage, one-touch gun purge — covering all the capabilities of the E7 and 960.
View details →
When a gun on your automatic line suddenly stops powdering, or the voltage reading on the controller keeps jumping, do not swap the gun first. Run through six checkpoints in order. Field service records show that most cases trace back to air supply, the powder path or the gun cable; genuine HV module failures are far fewer.
Modern controllers run self-diagnostics and report fault codes. On a DEBELLE board, codes H08, H10, H11 and H12 all point the same way: gun cable trouble — a loose plug, a broken or worn cable, or an HV module fault.
How to confirm: power up, read the code, inspect the matching part. If the cable plug was loose, re-seat it and the code should clear. If it persists, suspect a broken cable or the HV module.
Air is the leading cause of “no powder”. Per the DEBELLE electrical and grounding standard, the gun needs an input pressure of 6.0 kg or more with moisture below 2 percent, and the pressure must stay steady — no repeated dips below 6 kg (about 0.6 MPa).
On-site actions:
If air pressure is fine but powder still will not flow, look at the hopper. Caked, damp powder will not fluidize, so the pump cannot pick powder up; a pickup tube set too low also starves the pump and causes no-powder or spurting.
Actions: confirm the fluidizing air is on, then adjust it until the powder surface boils evenly; reset the pickup tube height; sieve or replace caked powder.
This is the most common area on automatic lines, which run long shifts and wear faster than manual setups.
| Blocked part | What you see | Confirm and fix |
|---|---|---|
| Jet nozzle | Venturi effect fails; no powder or sharply reduced output | Remove and clean; also check powder for caking |
| Powder tube | Build-up about 20 cm past the pump outlet is typical | Pull the tube and clean; replace if worn |
| Venturi / injector sleeve | Output keeps dropping over days | Clean or replace |
| Auto-gun inner powder tube | Unsteady output, powder build-up at the gun head | Fit the auto-gun inner tube; inspect every shift |
Prevention: check the jet nozzle and gun head each shift, clean the pump on schedule, and store powder dry. Models with a one-touch gun purge (such as the V12 automatic gun) clear residual powder from the pump, tube and electrode at shift change.
Powder flows but film thickness will not build, or the display does not match reality? Follow the electrostatic test procedure:
How to calibrate on site: measure at the gun head with a high-voltage electrostatic tester, take several setpoints from 5 to 100, log the measured values and check that the two series are linear. Beyond the 10 percent tolerance, recalibrate or replace the HV module.
Powder flows fine but will not cling? Suspect the earthing. Powder build-up on the conveyor hooks and rising contact resistance are the usual causes. Earth rods must go at least 2 metres deep, and contact points should be secured with a bolted lug.
How to confirm: measure the resistance from hook to ground with an earth tester. A value clearly higher than a fresh hook means build-up — set a cleaning cycle by output volume. Also check the hook-to-workpiece contact face; paint and oxide layers break the circuit.
If everything above checks out, look at the parts. Service records show that non-original spares directly cause spurting, uneven output, no powder and poor adhesion; worn electrode tips and nozzles degrade the spray pattern and transfer efficiency.
Actions: replace electrode tips, nozzles, venturis and powder tubes on schedule; use original spares and match the model (for example the round or flat electrode tips and extension nozzles specified for V16).
| Symptom | Check first | Then check |
|---|---|---|
| No powder at all | Air pressure | Jet nozzle, powder tube blockage |
| Weak output, spurting | Fluidization, pickup tube | Worn venturi, inner tube |
| Voltage below set value | Cable seated, contacts | HV module (10 percent tolerance) |
| Film thin but powder flows | Workpiece earthing | Worn electrode tip |
| Frequent tripping | Earthing system | Lower working voltage |
Send us your part photos, line speed and symptoms, and we will help you narrow the fault down with this logic; where useful, we run sample spraying first and let measured data decide the setup. See the contact page.
Models commonly used in this situation — tell us your workpiece and we confirm the fit:
The all-round CNC machine, all in one step: 0-100kV with LCD display, 20 main programs + over 500 sub-programs storage, one-touch gun purge — covering all the capabilities of the E7 and 960.
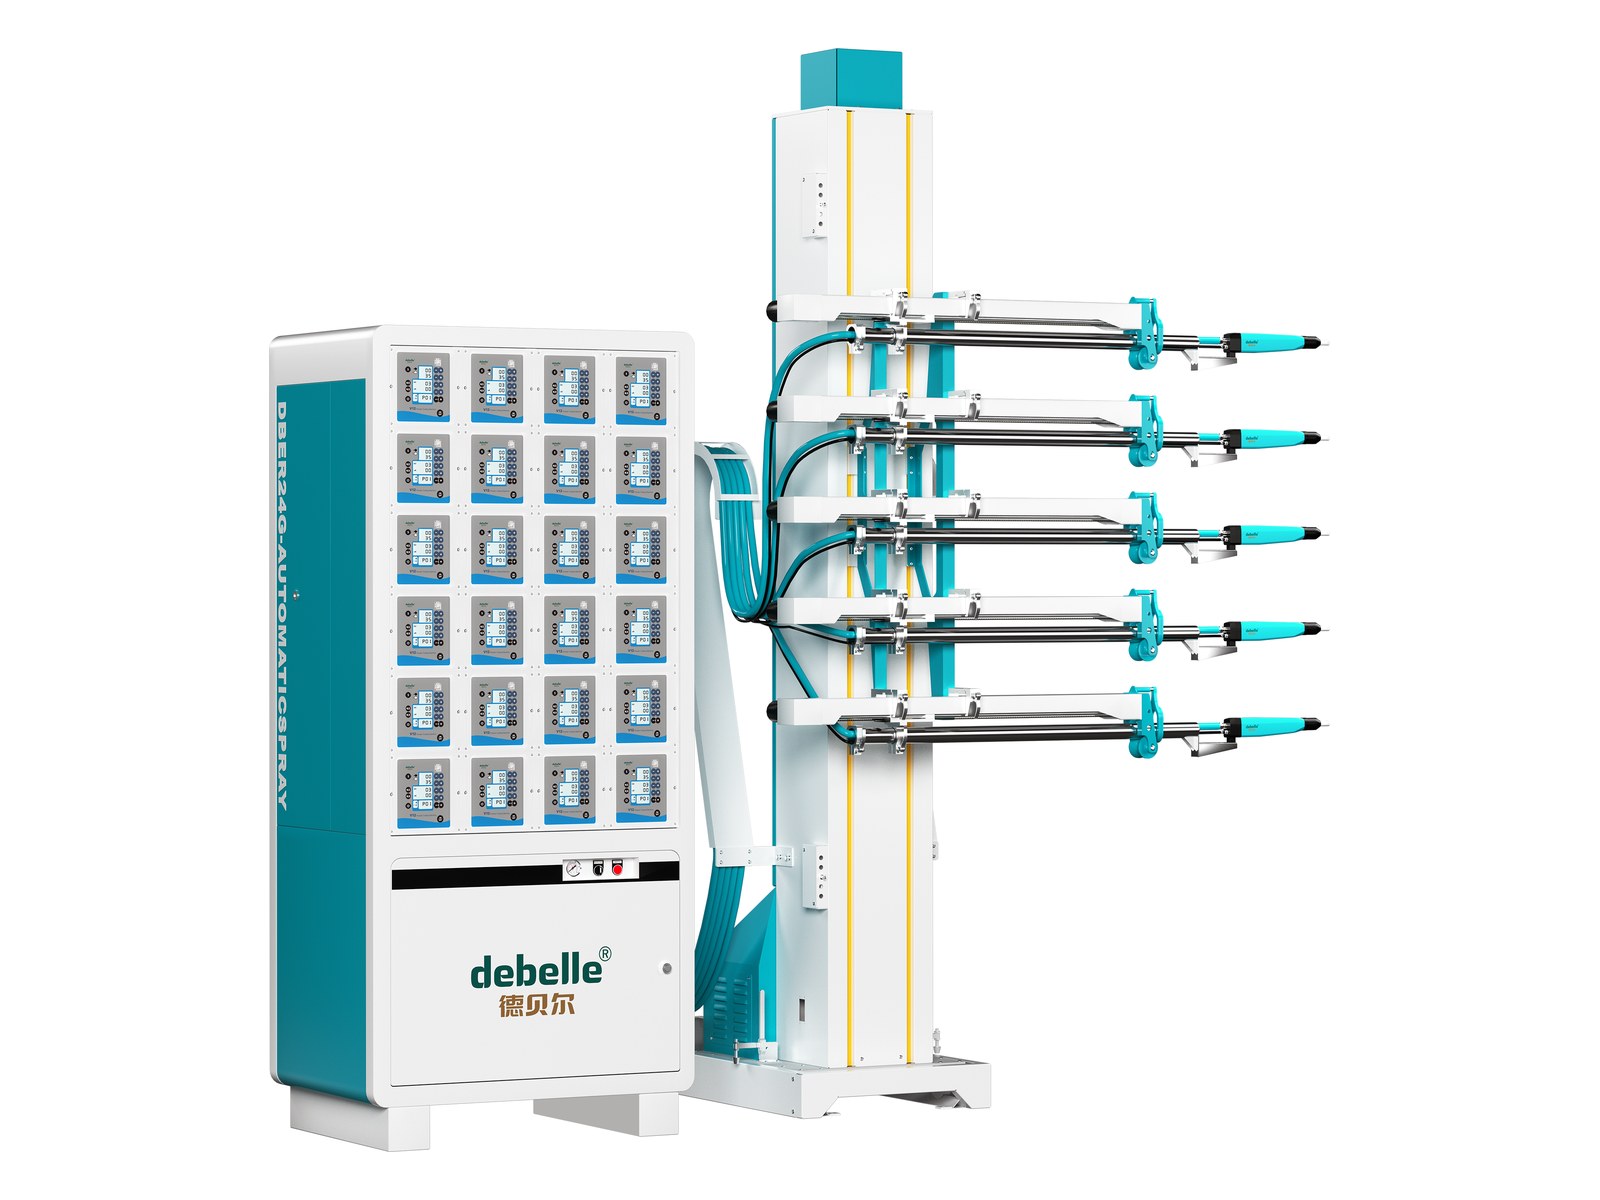
CNC automatic flagship with one-touch gun purge, multi-gun interlock control, and cross-backup control units that keep production running — the core solution for large powder booth automatic lines.
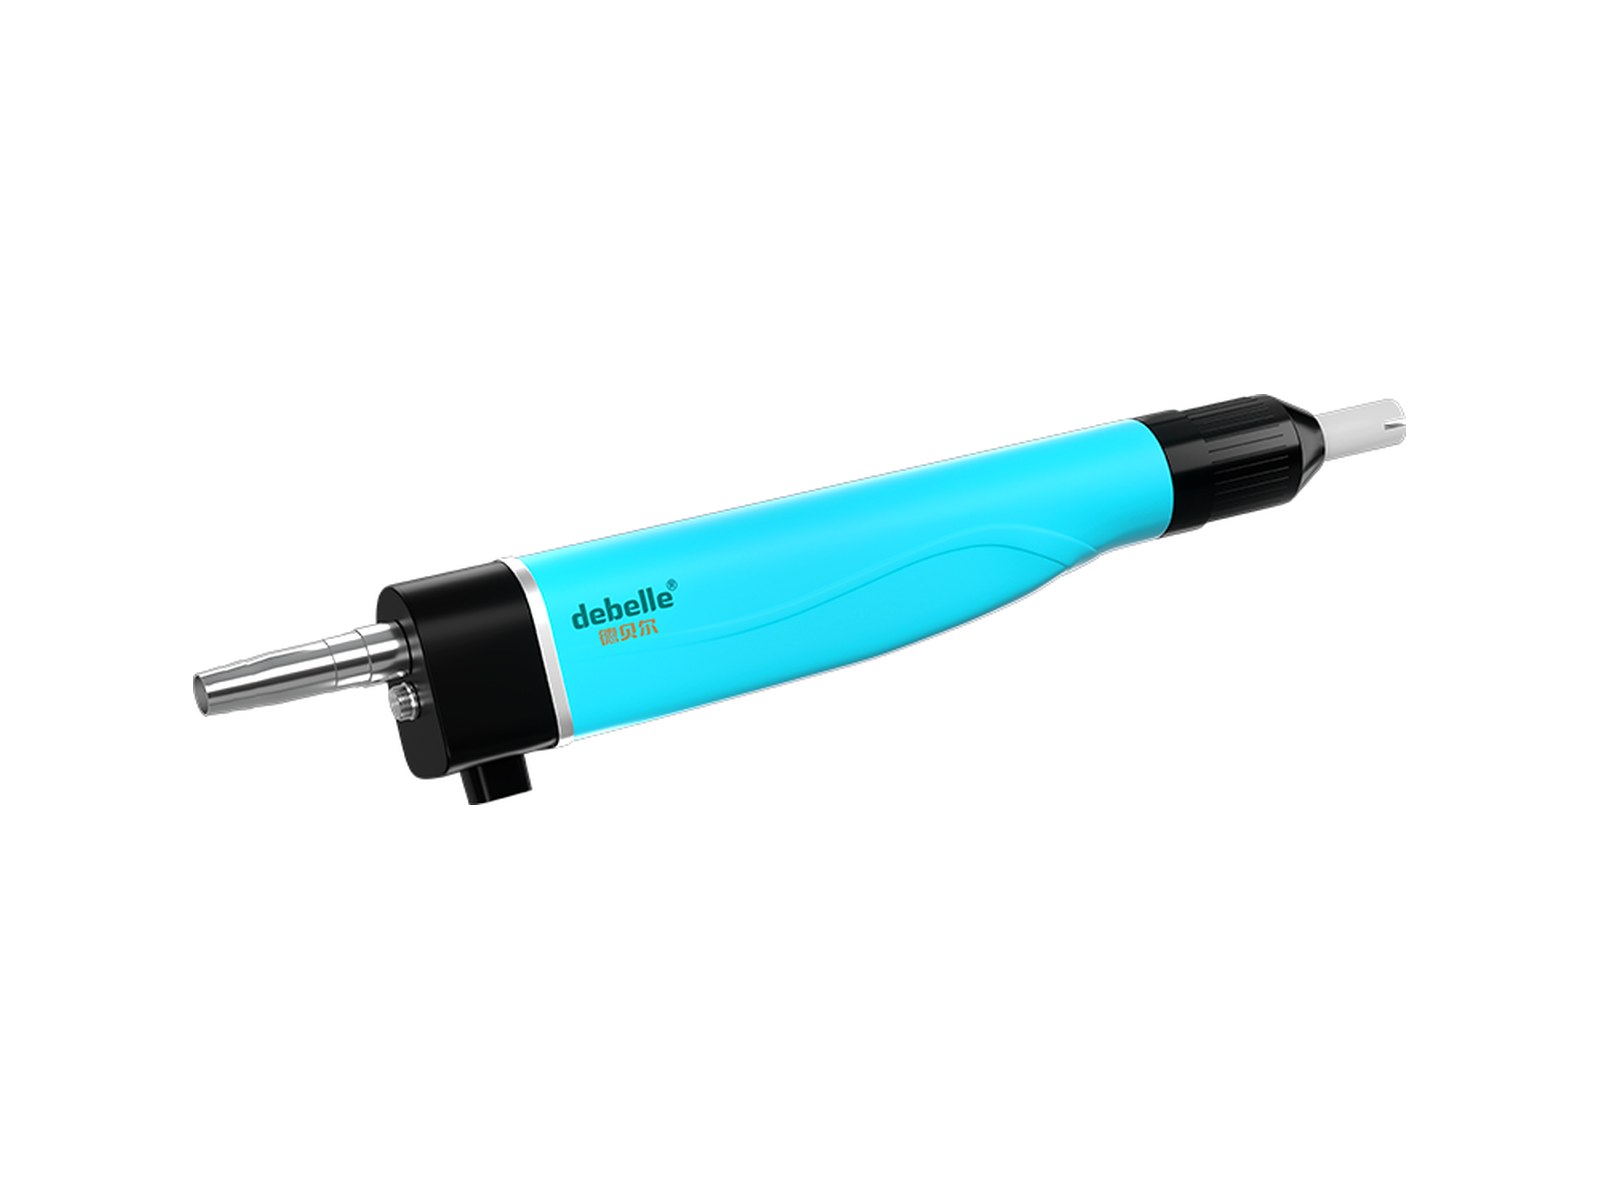
The new manual gun of the V series high-end platform, carrying over the V series CNC DNA with a complete one-touch gun purge and quick-change nozzle system.
The high-end automatic gun of the V series and the gun head platform of the Kingkong F1 automatic version — usable standalone on automatic lines or combined with the F1 control cabinet.
Provide workpiece dimensions, material and daily output — we deliver selection advice and a configuration list.